How to create groups
Groups play a central role in infrastrucure diagram. From locations, VPCs to services bundles, here is how to master the creation and use of groups in Holori software.
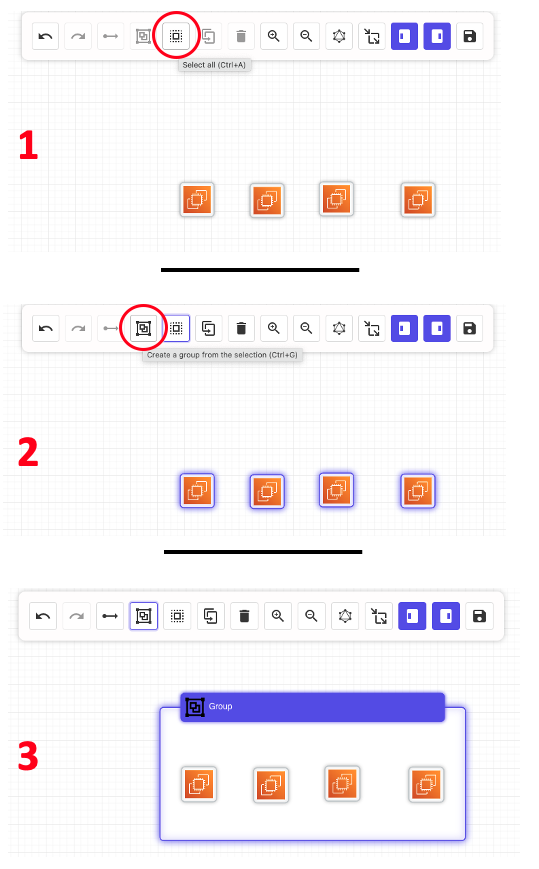
Create a group with all the icons on the grid
Use the select all button (or control + A shortcut) to select all the icons on the grid. Then select the "create a group from selection" button.
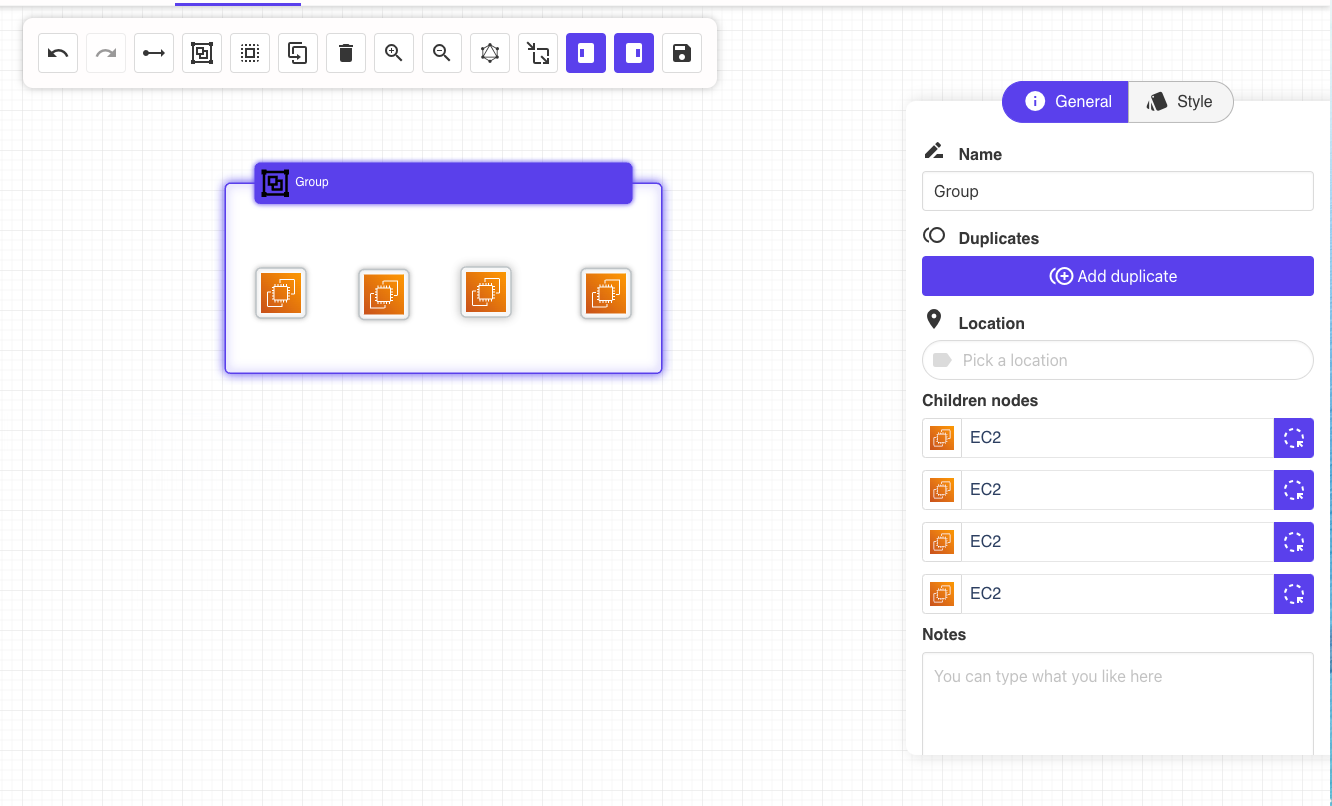
When you now select the group, the right side column allows you to give it a name, specify its location, customize the styling...
Create an empty group or empty location group
To create an empry group, select on the left side panel the type of group you need (group or location), drag and drop it on the grid.
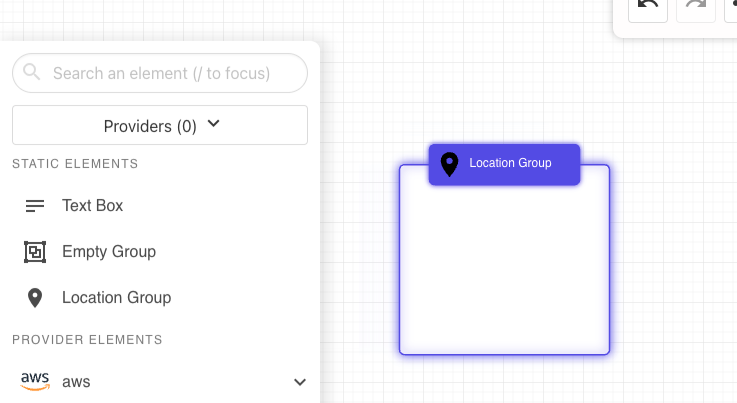
Both group types are relatively similar and can be configured similarly by clicking on it once created and editing the informations on the right panel. A list of AZ per provider is available, select the one you want to use.
To populate a group drag and drop icons on top of it fro the grid or from the products catalog on the left panel.
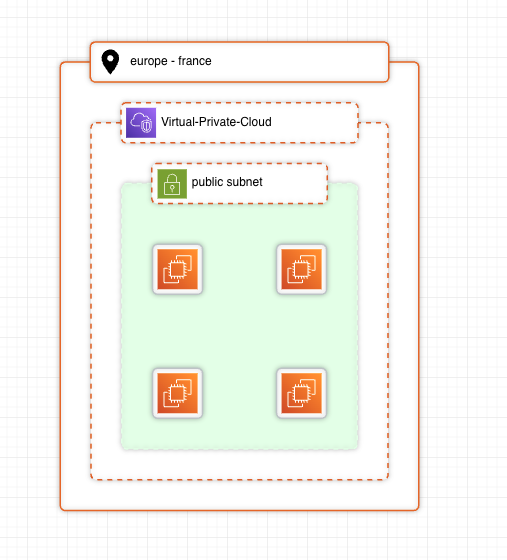
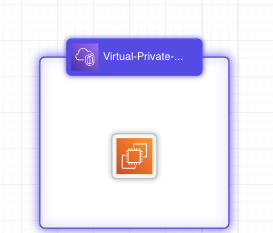
Create a group using a group icon
Some icons available in the providers' catalog in the left column direclty imply the creation of a group. It is for example the case when you choose an AWS Virtual Private Cloud (VPC) icon. The selected icon will then automatically appear surrounded by a group frame on the grid. To add element to this group simply drag&drop them on top of it as illustrated below.
Please note that this is only available for specific products and for some providers only.